Hola, soy Iguana, soy challenger +1000 lps durante 10 sets seguidos y este es mi perfil de tacter, donde podrás encontrar las mejores guías para mejorar en tft.
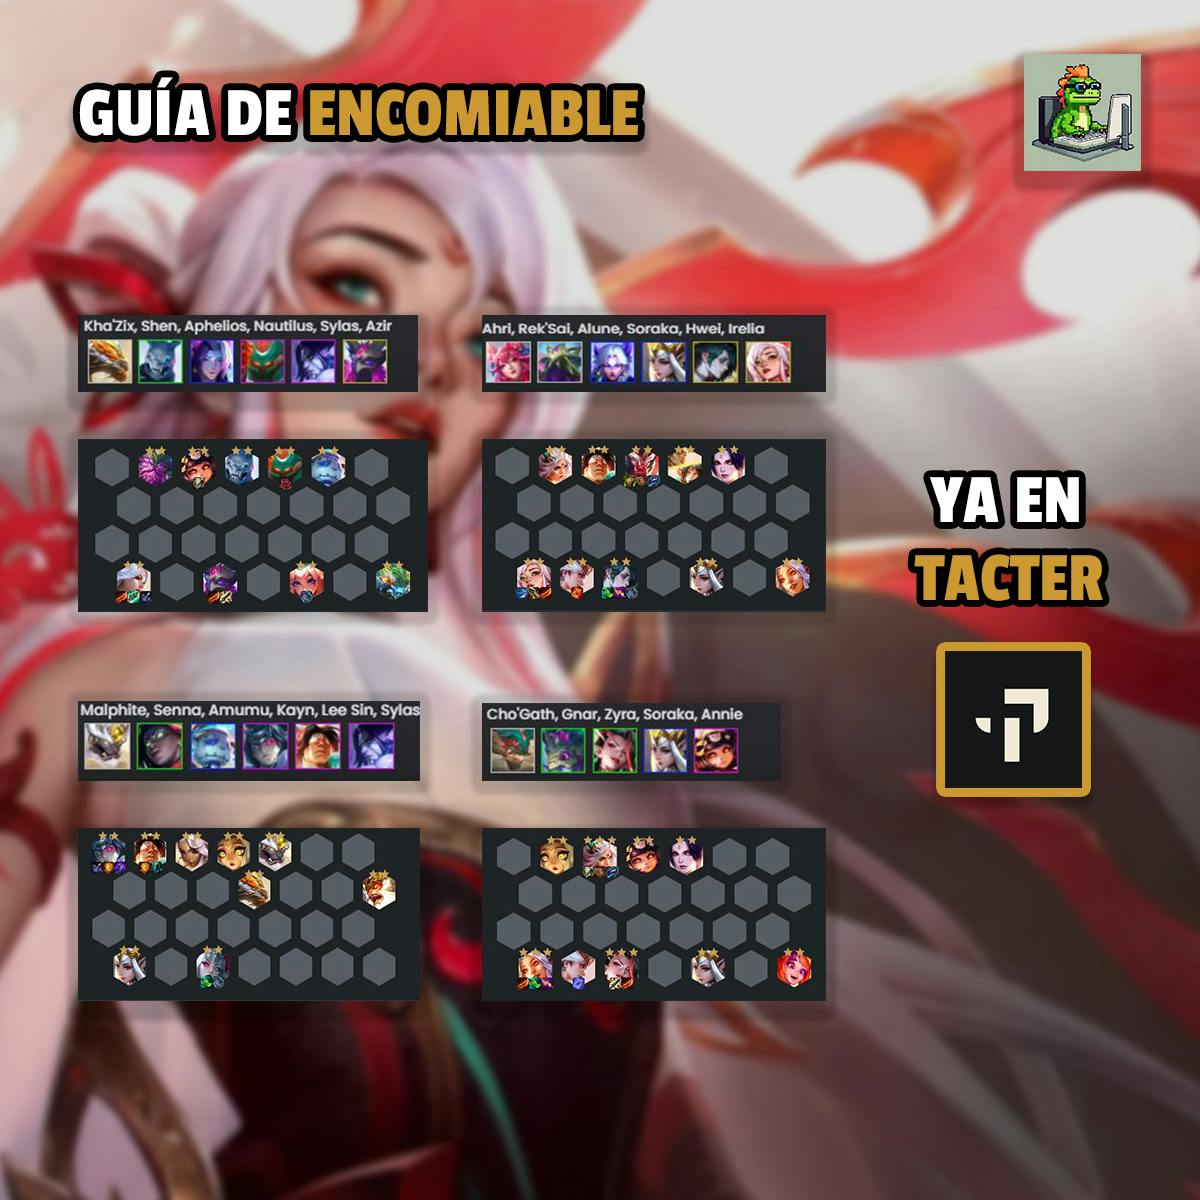
Seguro que muchos de vosotros os preguntaréis qué hacen los encomiables o cuando y cómo jugarlo . Incomiable es una sinergia muy buena pero no es fácil de jugar por ello os mostramos todo lo que necesitais saber :
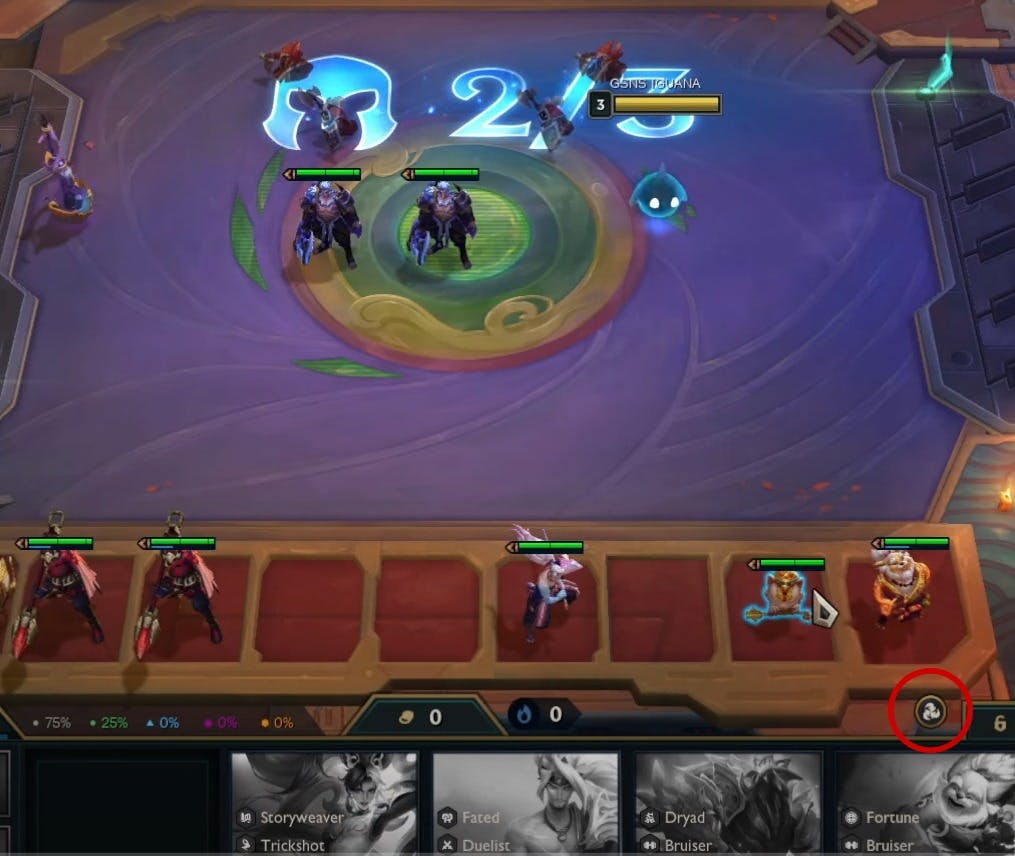
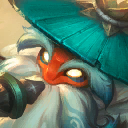
Bolsa de encomiables que nos aparece después de cada ronda:

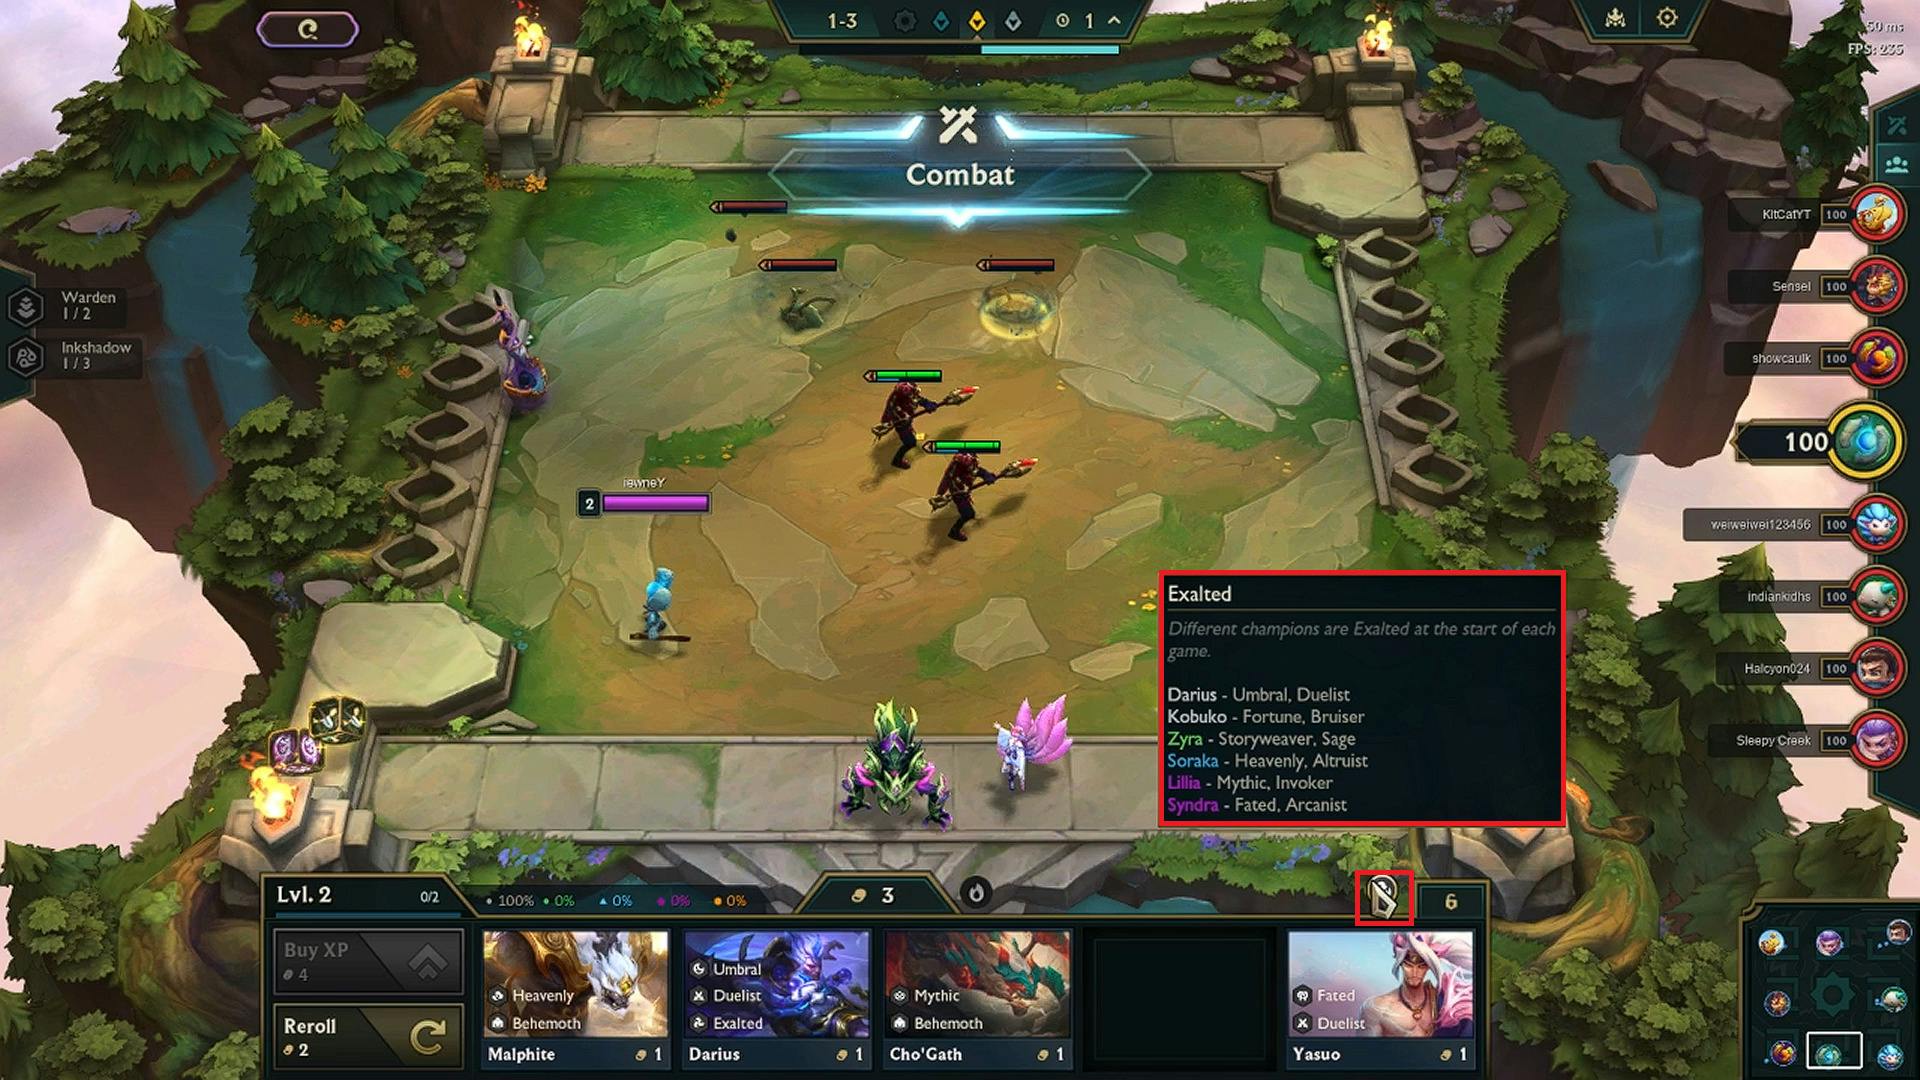
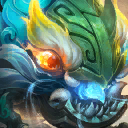
Icono de encomiables que nos aparece al comenzar la partida :
¿QUÉ SON LOS ENCOMIABLES?
Encomiable es una sinergia; cambia de combinación de personajes en cada partida y hay numerosas combinaciones. Si tienes la singeria activa después de cada ronda nos dejará en el banquillo una bolsa que si vendemos nos regala 1 de exp . En el caso en el que no tengas banquillo disponible, no te preocupes, se venderá automáticamente y ganaras la experiencia igualmente. Además, es muy buena sinergia conforme avanza la partida porque aparte de 1 de exp cada ronda nos da % de daño por niveles, cuanto mas nivel seamos mas % obtenemos, incluso podemos llegar a obtener un 35% más de daño, BRUTAL!
¿EN QUE SITUACIÓN PUEDO JUGAR ENCOMIABLES?
Lo primero de todo que debemos hacer al entrar en partida es mirar en el icono de Encomiables para ver así que campeones son y si encajan en alguna composición meta . Encomiable varía cada partida por lo que no es forzable. Hay una serie de combinaciones que hacen a la sinergia muy fuerte por lo que jugaremos en torno a ellas. A continuación os mostramos las mejores combinaciones.
Lista de los campeones encomiables que tendremos diferentes cada partida :
¿CÓMO JUEGO ENCOMIABLES?
En juego temprano los encomiables nos ofrecen una gran ventaja al darnos experiencia por ronda por lo que siempre que tengamos 3 encomiables rápido podremos jugarlo y aprovechar ésto a nuestro favor.Conforme subamos niveles la experiencia nos dará mas igual pero nos beneficiará el % de daño .
🔴 MEJORES COMBINACIONES DE ENCOMIABLES RESPECTO A SU COMPOSICIÓN FINAL 🔴
LEGENDARIAS IRELIA & HWEI
-Combinación de encomiable a principio de partida : AHRI - REKSAI - ALUNE - SORAKA - HWEI - IRELIA
Con esta combinación lo primero observamos que en nuestra composición final podremos jugar Soraka - Hwei - Irelia que son fichas muy fuertes y nos encajan bien en una mesa de nivel 9 por lo que tendremos que llegar a éste nivel.
-JUEGO TEMPRANO : Si al comienzo no podemos ir a racha de victorias asegurar la racha de derrotas y no subir de nivel. Transicionar con fichas como Zyra que puede llevar los items de Hwei o Darius que siempre puede llevar items de Irelia. Coger todos los Rapsodas ya que nos da una buena transición.
-JUEGO MEDIO : Subir en la 3-2 aunque sigamos perdiendo para ir a tempo y tener mejores tiendas.Ir comprando las piezas de nuestra composición. Priorizar en carruseles items de Ad para irelia ( Arcos , espadones) items de tanque para Galio e items de daño mágico para Hwei ( Ap, lágrimas). Ir montando mesa fuerte con rapsodas e items de daño mágico en Zyra que nos ayudará a matar muchas fichas. No olvidarnos de coger Soraka que es encomiable.
-JUEGO TARDÍO: Subir al 8 en la 4-2 ; si no tenemos nada de nuestra compo rolear por piezas que nos ayuden a subir a nivel 9 como Galio - Annie - Lilia , si tenemos la posibilidad de ir directo al 9 mejor. Al 8 también podemos ver piezas importantes como Irelia o Hwei. Una vez al 9 rolear por Irelia y Hwei y por Galio ⭐⭐.
MEJOR MESA NIVEL 9 CON IRELIA HWEI


KAYN & MORGANA CELESTIALES
-Combinación de encomiables a principio de partida : MALPHITE - SENNA - AMUMU - KAYN - LEE SIN - SYLAS
Con esta combinación observamos que esta partida podemos jugar Kayn con Morgana ya que Kayn es encomiable con Malphite y con Lee Sin que es muy buena ficha y nos da duelistas con Qiyana .
-JUEGO TEMPRANO: Comprar todos los celestiales que podamos. Transicionar con Darius - Malphite - Qiyana - Yorick .Subir a nivel 4 en la 2-1 si tenemos varios celestiales o algun personaje a ⭐⭐. Si tenemos morello (item importante) y no sabemos en quien podría llevarlo tambíen podemos darselo al mismo Darius ya que le viene bien todo , está muy fuerte.
-JUEGO MEDIO: Subir en la 3-2 a nivel 6 e incluir más celestiales. Generar economía hasta 50 de oro .Ir completando items para seguir el tempo de la partida e intentar racha de victorias si tenemos Darius 2 pronto. Buscar items de daño de ataque aparte del morello de Morgana ( Espadas , arcos , puños) es importante tener las últimas palabras en Kayn.
-JUEGO TARDÍO: Subir en la 4-2 a nivel 8 y rolear todo nuestro oro en busca de Kayn , Lee sin y Morgana ⭐⭐. Si tenemos nuestra composición subida de nivel ir al 9 para encontrar a WuKong .
MESA NIVEL 9 CUANDO ENCONTREMOS WUKONG


LILIA & ASHE CON CONJURADORES
- Combinación de encomiables a principio de partida: KHA ZIX - SHEN - APHELIOS - NAUTILUS - SYLAS - AZIR Con esta combinación ya podemos observar que este game para incluir encomiables en nuestra composición debemos de jugar en torno a Ashe con conjuradores.
-JUEGO TEMPRANO: Si no podemos ir a racha de victorias no subir e ir a racha de derrotas para así tener prioridad en carrusel ( Posible amumu para estabilizar o mejores componentes) Transicionar con Caitlyn - Senna y buena front. Podemos incluir Incorpóreos en la transición.
-JUEGO MEDIO: Subir en la fase 3-2 para seguir el ritmo de la partida y optar a mejores tiendas. Importante items buenos en Ashe sobre todo la guinsoo y las últimas palabras para la reducción de armadura. Generar economia hasta el nivel 8.
-JUEGO TARDÍO: Subir a nivel 8 en la fase 4-2 y rolear por Ashe y front ⭐⭐. una vez tengamos Ashe y aguante delante podremos ir a nivel 9 en busca de Azir y así poder completar nuestra composición con encomiable.
MEJOR MESA NIVEL 9 CON AZIR


ZYRA & JANNA
-Encomiable a principio de la partida : CHO GATH -GNAR - ZYRA - SORAKA- ANNIE
Con esta combinación ya observamos que la partida es jugar en torno al reroll de Zyra con Janna ya que incluiremos muy bien encomiables con Soraka que es altruista y Annie que es conjurador.
-JUEGO TEMPRANO: No subir de nivel para así generar rápido 50 de oro .Nos apoyaremos en los rapsodas en juego temprano ya que nos deja una buena transición hacia lo que queremos jugar.En cuanto incluyamos los rapsodas escoger el talisman MORADO ( Daño mágico).Los items de tanque irán en Garen y en cuánto encontremos Zyra o Janna le pondremos los de daño mágico. Priorizar varas , lágrimas o arcos en carruseles Los items de tanque irán en Diana .
-JUEGO MEDIO: Subir en la 3-2 a nive 6 y rolear 10 - 20 de oro si tenemos mesa floja sin personajes ⭐⭐. Volver a generar economía y rolear por encima de 50 de oro por Janna y Zyra ⭐⭐. Coger todas las Dianas ya que si salen bastantes es un personaje importante al 3.
-JUEGO TARDÍO: Con Janna y Zyra ⭐⭐⭐subir a nivel 7 y si nos quedan pocas Dianas rolear por ella ya que podemos obtener también Annie. Si no tenemos 6 o más Dianas directamente ir a nivel 8 para así completar nuestra mesa final con encomiables.
MEJOR MESA NIVEL 8


KAISA & LUCHADORES
-Encomiables a principio de la partida : SIVIR - JANNA - SHEN - TRISTANA - SYLAS
Si nos encontramos con este grupo de encomiables podemos observar que incluyen a Sivir - Sylas por lo que la composición de Kaisa encaja muy bien .
-JUEGO TEMPRANO: Si tenemos mesa fuerte (Sivir 2 con 1 item o mas y garen) subir de nivel y proponer racha de victorias ; sino a racha de derrotas.Priorizar importante items de Daño de ataque en carruseles para Kaisa y de front para Galio. Morello en teemo sería muy bueno .
-JUEGO MEDIO : Subir de nivel en la fase 3-2 para ir a tempo con la partida e intentar hacer items . Comprar a Janna ya que es el encomiable 3 junto a Sivir y Sylas.Seguir generando economía hasta la fase 4-2 donde rolearemos.
-JUEGO TARDÍO: Subir a nivel 8 en la fase 4-2 y rolear todo nuestro oro en busca de Kaisa ,Sylas y Galio ⭐⭐. Una vez que los tengamos ir a nivel 9 e incluir Janna para encomiable.
MEJOR MESA NIVEL 9


ASHE & PORCELANAS
-Combinación a principio de partida : DARIUS - ZYRA - BARDO - ORNN - LISSANDRA
Los encomiables de Lissandra están muy fuertes debido a la buena ficha que es ésta por lo que esta combinación con Ornn nos viene de lujo.
-JUEGO TEMPRANO: Si tenemos fichas a nivel 2 con opción de racha de victorias subir de nivel y jugar mesa fuerte. Completar items ya que en esta composición nos valen muchos. Buscar items buenos de Ashe e items de front.
-JUEGO MEDIO : Subir a nivel 6 en la 3-2. Buscar Amumu- Illaoi para front junto a Shen. Los items de Ashe pueden ir en Aphelios o Caitlyn ⭐⭐ de transición.Generar mucha economía para rolear todo el oro al 8.
-JUEGO TARDÍO: Subir a nivel 8 en la fase 4-2 y rolear por Ashe , Nautilus y toda la front al 2. A nivel 8 podemos encontrar Lissandra también que puede ser importante si la sacamos temprano para que nos de oro e items.Cuando estemos estables subir a nivel 9. Esta partida nuestro tercer encomiable junto a Ornn y Lissandra será Bardo que nos da Mitico.
MEJOR MESA NIVEL 9 CON LISSANDRA


GUÍA DE CONCEPTOS BÁSICOS DEL TFT: CUÁNDO SUBIR DE NIVEL Y GESTIÓN DE LA ECONOMÍA

🦎MIL GRACIAS Y SI TE HA GUSTADO LA GUÍA RECUERDA DARLE LIKE 🦎